


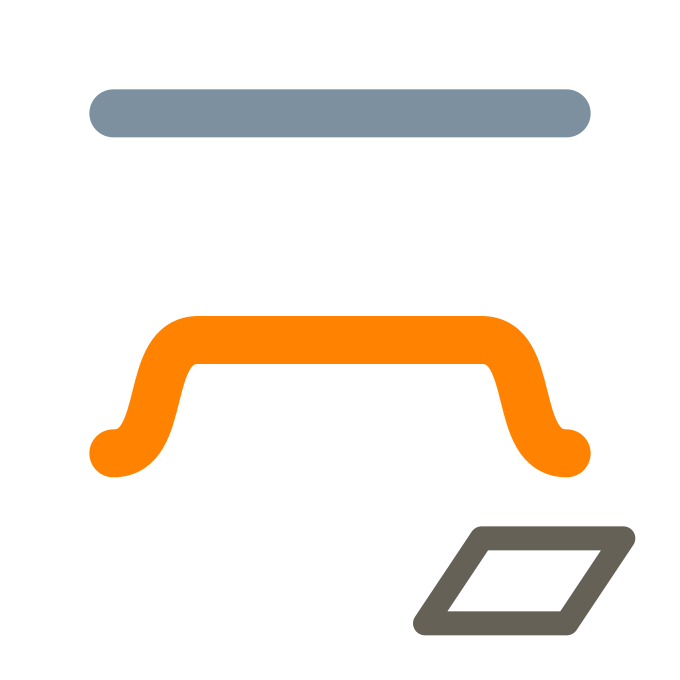
Learn Landshape — Pick. Shift

Shift

Move terrain up or down by selection.

Useful to control vertical position of terrain areas. Use a Siteplan, and select faces, e.g. for a bikepath. Run Shift to nudge the corresponding terrain up or down.

Type:  Pick, Shape
Menu:  Extensions > Landshape > Pick > Shift

Input

  • Raw faces, e.g. in a siteplan.
  • 1 or more Groups containing faces.
  • 1 or more Groups containing a closed edgeloop.

Operation

Direct

  1. Preselect valid input.
  2. Run Shift.
  3. To adjust result, type values.

To finish, switch to any other tool.
To keep Shifting, continue to item 2, below.

Alternatively:

Picking

  1. Run Shift with nothing selected.
  2. While running Shift, Pick valid inputs.
  3. To shift, click Enter or Doubleclick.
  4. To adjust result, type values.

To finish, switch to any other tool.
To keep Shifting, repeat from item 2, above.

While running, type VCB values anytime.
Values control active result, and next result.

Options

  • Hold Shift = Toggle selection.
  • Hold Ctrl = Add to selection.
  • Hold Ctrl + Shift = Subtract from selection.
  • Enter or Doubleclick = Apply selection.
  • Click = Select.
  • Drag Rightward = Select enclosed.
  • Drag Leftward = Select within.

Try Shift Hands-on

  • SimplePlot a terrain. Using Sketchup's Rectangle or Circle tool, create a face and put it within the terrain footprint, and hovering well above the terrain plot. Group it. Select it. Run Embed. This should embeds edges into the terrain.

Now, run Shift. Experiment with different VCB values, and see what happens.

By typing positive and negative values, you can move the terrain below your control geometry up and the down.

By typing = before a value, you can Shift the terrain to a specific global elevation.

Set the datum via command Set Datum.

Tips

Working with Input Geometry in Pick Commands

Landshape is a toolsuite that turns terrain into a plastic canvas, empowering you to impose your vision onto the terrain.

Landshape's Pick commands – in contrast to its more expressive and tool-like Brush and Draw commands – let you edit and interact with the terrain using persistent control geometry, also known as input geometry, or simply input.

You may at any time edit your input geometry, using any method you like. You may use Sketchup's built-in tools to edit its e.g. faces, edges, points. You may also edit e.g. the position, rotation, scale and material of the input group itself. Then, you may select the input and run a Landshape command again.

Thus, input group geometry embodies information that you then can apply or reapply to your terrain at will.

This workflow enables good repeatability, great control, and complete accuracy. You may keep input geometry for later use. You may copy input containers to several positions in the terrain. You can create input variants, and organise them onto different tags.

The encouraged workflow is to work with a Siteplan. This is one single group, containing a flat, level 2D faces and edges, representing what you wish to impose onto your terrain. Your terrain proposal in 2D, as it were.

In sum, use input geometry to drive terrain change.

No need to select terrain

To shape terrain, you never need to select terrain. If you have selected valid input, Landshape will detect its corresponding terrain automatically.

Should you happen to have terrain selected along with input geometry, Landshape will produce the same result as if you had only selected non-terrain input.

Last edited 2026-06-17
Flare
Puff

Shift

Move terrain up or down by selection.

Useful to control vertical position of terrain areas. Use a Siteplan, and select faces, e.g. for a bikepath. Run Shift to nudge the corresponding terrain up or down.

Type:  Pick, Shape
Menu:  Extensions > Landshape > Pick > Shift

Input

  • Raw faces, e.g. in a siteplan.
  • 1 or more Groups containing faces.
  • 1 or more Groups containing a closed edgeloop.

Operation

Direct

  1. Preselect valid input.
  2. Run Shift.
  3. To adjust result, type values.

To finish, switch to any other tool.
To keep Shifting, continue to item 2, below.

Alternatively:

Picking

  1. Run Shift with nothing selected.
  2. While running Shift, Pick valid inputs.
  3. To shift, click Enter or Doubleclick.
  4. To adjust result, type values.

To finish, switch to any other tool.
To keep Shifting, repeat from item 2, above.

While running, type VCB values anytime.
Values control active result, and next result.

Options

  • Hold Shift = Toggle selection.
  • Hold Ctrl = Add to selection.
  • Hold Ctrl + Shift = Subtract from selection.
  • Enter or Doubleclick = Apply selection.
  • Click = Select.
  • Drag Rightward = Select enclosed.
  • Drag Leftward = Select within.

Try Shift Hands-on

  • SimplePlot a terrain. Using Sketchup's Rectangle or Circle tool, create a face and put it within the terrain footprint, and hovering well above the terrain plot. Group it. Select it. Run Embed. This should embeds edges into the terrain.

Now, run Shift. Experiment with different VCB values, and see what happens.

By typing positive and negative values, you can move the terrain below your control geometry up and the down.

By typing = before a value, you can Shift the terrain to a specific global elevation.

Set the datum via command Set Datum.

Tips

Working with Input Geometry in Pick Commands

Landshape is a toolsuite that turns terrain into a plastic canvas, empowering you to impose your vision onto the terrain.

Landshape's Pick commands – in contrast to its more expressive and tool-like Brush and Draw commands – let you edit and interact with the terrain using persistent control geometry, also known as input geometry, or simply input.

You may at any time edit your input geometry, using any method you like. You may use Sketchup's built-in tools to edit its e.g. faces, edges, points. You may also edit e.g. the position, rotation, scale and material of the input group itself. Then, you may select the input and run a Landshape command again.

Thus, input group geometry embodies information that you then can apply or reapply to your terrain at will.

This workflow enables good repeatability, great control, and complete accuracy. You may keep input geometry for later use. You may copy input containers to several positions in the terrain. You can create input variants, and organise them onto different tags.

The encouraged workflow is to work with a Siteplan. This is one single group, containing a flat, level 2D faces and edges, representing what you wish to impose onto your terrain. Your terrain proposal in 2D, as it were.

In sum, use input geometry to drive terrain change.

No need to select terrain

To shape terrain, you never need to select terrain. If you have selected valid input, Landshape will detect its corresponding terrain automatically.

Should you happen to have terrain selected along with input geometry, Landshape will produce the same result as if you had only selected non-terrain input.

Last edited 2026-06-17
Flare
Puff